Sprained Ankle: Your Guide to a Full Recovery
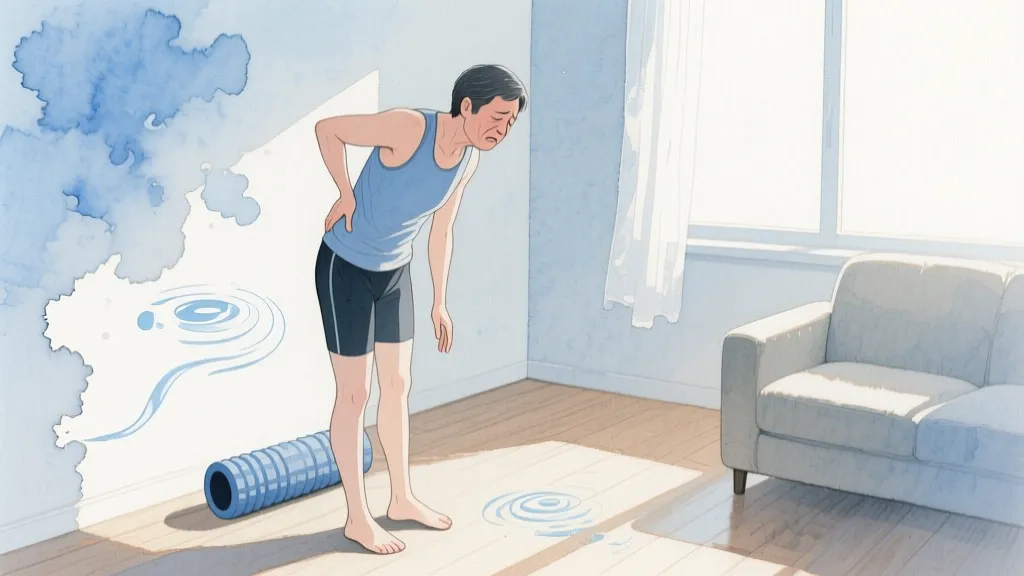
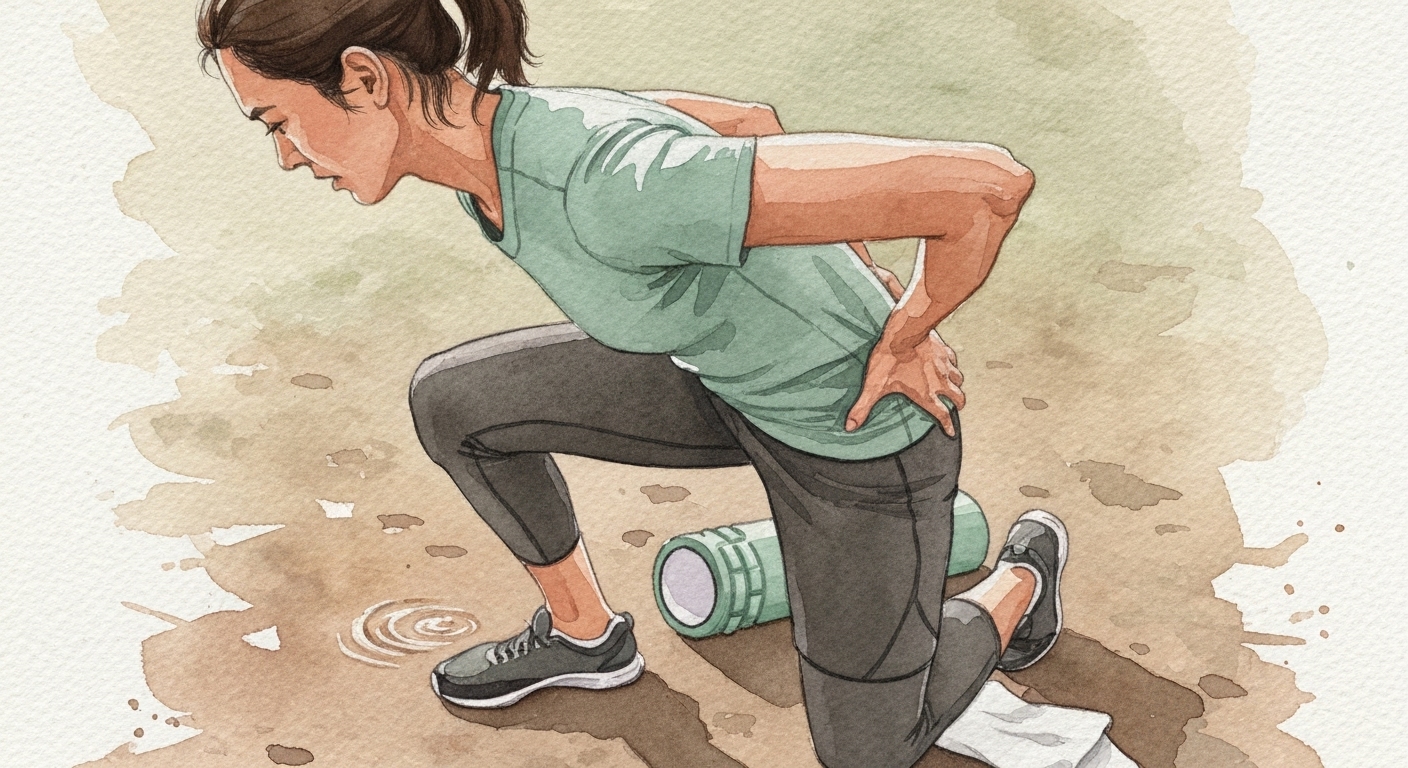
There’s a specific, frustrating sound an ankle makes when it rolls. It’s a quiet pop or a sickening crunch, followed by a flash of heat. One second you’re walking, running, or just stepping off a curb, and the next you’re on the ground, assessing the damage. The immediate pain is sharp, but the real frustration sets in later. It’s the feeling of being sidelined, of having your mobility suddenly taken away by such a common, almost clumsy, incident. Recovering from a sprained ankle isn’t just about waiting for the swelling to go down. It’s an active process. Rushing it can lead to chronic instability, but ignoring it can mean a weak ankle for life. This guide is a practical walkthrough-not a medical textbook-on how to navigate the recovery process, from day one to getting back on your feet for good.
The First 48 Hours: What to Do Immediately
That moment after you roll your ankle is full of confusion. Should you walk on it? Should you ice it? Should you take your shoe off? The actions you take in the first two days can have a big impact on your overall recovery timeline. The old-school advice was R.I.C.E.-Rest, Ice, Compression, Elevation. It’s still a solid starting point, though our understanding of it has evolved a bit.
A Modern Take on R.I.C.E.
- Rest (or “Protected Rest”): This is the most critical part. You’ve just injured ligaments-the tough bands that connect your bones. They need a break from stress. This doesn’t mean you have to be completely bedridden. It means not putting your full weight on the sprained ankle. Crutches are your best friend here. What people get wrong is thinking “rest” means doing absolutely nothing. You can, and should, still move around, just without loading the injured joint. This is a good time to focus on what you can do, like upper body or core work, if you feel up to it.
- Ice: Ice is great for pain relief. It numbs the area and can help manage that initial, throbbing ache. The debate is whether it slows down the natural inflammatory process needed for healing. For the first day or two, using an ice pack for 15-20 minutes every couple of hours is generally fine. The goal is pain management. A bag of frozen peas wrapped in a thin towel works just as well as a fancy gel pack.
- Compression: This is about controlling the sprained ankle swelling. A swollen, puffy sprained ankle is hard to move and can slow down the introduction of gentle exercises. An elastic compression wrap, like an ACE bandage, is the go-to tool. It should be snug, but not so tight that it causes numbness, tingling, or more pain. Start wrapping from your toes and move up toward your shin to gently push swelling away from the foot.
- Elevation: Gravity is not your friend when you have a swollen ankle. Whenever you’re sitting or lying down, prop your sprained ankle up on a stack of pillows. The goal is to get it higher than your heart. This helps drain excess fluid from the area. This small action makes a surprisingly big difference in managing swelling.
The first couple of days are about damage control. Don’t be a hero and try to “walk it off.” You’re not helping anything. Give your body the break it’s asking for.
Phase 1: Restoring Range of Motion
After the first 48-72 hours, once the worst of the pain and swelling has subsided, the real work begins. Your ankle has been stiff and protected, and now you need to gently remind it how to move. This phase is all about restoring your range of motion. Pushing this too hard or too fast is a common mistake that can re-injure the ligaments. The mantra here is “gentle and pain-free.” If it hurts, you’re doing too much.
The Alphabet Exercise: Your First Step
This is the classic starting point for a reason. It’s simple, gentle, and effective.
- How to do it: Sit in a chair or on the edge of your bed with your foot dangling in the air. Using your big toe as a pen, slowly trace the letters of the alphabet from A to Z.
- Why it works: This moves the ankle joint through all its natural planes of motion-up and down (dorsiflexion/plantar flexion), side to side (inversion/eversion), and rotation. It’s a safe way to start re-establishing that brain-to-ankle connection.
Do this a couple of times a day. You might not have the full range of motion at first. Your “Z” might look more like a “C.” That’s okay. The goal is just to get it moving without forcing it.
Gentle Towel Stretches
Once you can do the alphabet exercise with minimal discomfort, you can add some gentle passive stretching.
- Towel Calf Stretch: Sit on the floor with your injured leg straight out in front of you. Loop a towel or resistance band around the ball of your foot. Gently pull the towel toward you, keeping your knee straight, until you feel a light stretch in your calf. Hold for 20-30 seconds. Repeat 3 times.
- Towel Plantar Flexion: This one is sort of the opposite. In the same position, use the towel to gently point your toes away from you. This is a very subtle movement and you should be extremely careful not to push into pain.
What Can Go Wrong Here
The biggest mistake is impatience. People feel a little better and immediately try to walk normally or push the stretches too far. This can stretch the healing ligaments, setting you back. A small win that builds momentum is simply being able to complete the alphabet without pain. Celebrate that. This phase isn’t about strength; it’s about movement. Think of it like gently opening a rusty hinge, not trying to force it open with a crowbar.
Phase 2: Building Strength and Stability
Once you’ve regained most of your normal range of motion and can bear some weight without significant pain, it’s time to start rebuilding strength. The ligaments in your ankle were stretched or torn, and the muscles around the joint have become weak from disuse. Strong muscles are your ankle’s best defense against future sprains. They act as active stabilizers, protecting the passive ligaments. This is where ankle strengthening exercises come in.
Resistance Band Exercises: Your New Best Friend
A simple set of therapy resistance bands is one of the best tools for ankle rehab. They provide gentle, consistent resistance to rebuild strength in all directions.
- Dorsiflexion: Sit on the floor with your leg straight. Loop the band around a sturdy object (like a table leg) and then around the top of your foot. Pull your toes back toward your shin against the band’s resistance.
- Plantar Flexion: In the same seated position, hold the ends of the band and loop the middle around the ball of your foot. Gently press your foot down, like pressing a gas pedal, against the resistance.
- Inversion: Sit with your legs out. Cross your uninjured leg over your injured one. Loop the band around the ball of your injured foot and anchor it with your uninjured foot. Turn your injured foot inward against the resistance.
- Eversion: This is the opposite. Uncross your legs and loop the band around the outside of your injured foot, anchoring it on the uninjured one or a table leg. Turn your injured foot outward against the resistance.
Aim for 2-3 sets of 10-15 repetitions for each exercise. The key is slow, controlled movement.
Where it Gets Tricky
The tricky part is knowing how much resistance to use. You should feel the muscles working, but you shouldn’t feel any sharp pain in the joint itself. If you do, use a lighter band or reduce the range of motion. Another common mistake is only focusing on one or two movements. It’s vital to strengthen the ankle in all four directions to create balanced stability.
Phase 3: Regaining Balance and Proprioception
This might be the most important-and most overlooked-phase of sprained ankle treatment. Proprioception is your body’s sense of its position in space. When you sprain your ankle, you damage the nerve endings in the ligaments that send these signals to your brain. This is why people who sprain their ankle once are so much more likely to do it again. Their ankle doesn’t know where it is, so it can’t react quickly enough to prevent another roll.
The Single-Leg Balance: Simple but Powerful
The foundation of all proprioception exercises for ankle recovery is the single-leg balance.
- How to begin: Stand near a wall or a countertop for support. Lift your uninjured foot off the ground and try to balance on your injured leg.
- The goal: Start by trying to hold it for 10 seconds. It will feel incredibly wobbly at first. Your ankle will be making constant tiny adjustments. That’s good! That’s the system rebooting itself.
- How to progress: Once you can hold a steady balance for 30-60 seconds, you can make it harder.
- Close your eyes. This removes visual input and forces your ankle to do all the work. It’s surprisingly difficult.
- Stand on an unstable surface, like a pillow or a foam pad.
- Gently toss a ball from hand to hand while balancing.
Why People Skip This Step
Honestly, these exercises can feel a little boring. They don’t feel like a workout. But their value is immense. This is what truly “heals” the ankle and reduces your risk of re-injury. You’re not just building muscle; you’re rebuilding the communication network. A huge win here is being able to stand on one leg and brush your teeth. Integrating these small balance challenges into your daily routine is a great way to stay consistent without having to schedule a separate “proprioception workout.”
Quick Takeaways
- Don’t be a hero in the first 48 hours. Use protected rest, ice, compression, and elevation.
- Start with gentle, pain-free range of motion exercises like the “alphabet” exercise.
- Strength training with resistance bands in all four directions is crucial.
- Don’t skip balance and proprioception work. It’s your best defense against re-injury.
- Listen to your body. Sharp pain is a stop sign, not a challenge.
- Healing takes time. How long does a sprained ankle take to heal? It varies, but think weeks and months, not days.
- Consistency is better than intensity. A little bit every day is better than a lot once a week.
Conclusion: Playing the Long Game
Recovering from a sprained ankle is a lesson in patience. It’s an injury that feels minor but has surprisingly long-lasting consequences if not managed correctly. The temptation to jump back into your normal activities as soon as the pain fades is huge. I learned this the hard way years ago, rushing back to play basketball after two weeks. I felt okay, but my ankle wasn’t truly stable. I re-sprained it within five minutes, and the second recovery was twice as long and ten times as frustrating.
What’s worth remembering from all this is that recovery happens in stages. You can’t skip from Phase 1 to being fully recovered. You have to earn your way through each step: first regaining movement, then building strength, and finally, re-teaching your ankle how to balance and react. It’s the last part, the seemingly boring balance work, that makes all the difference between a full recovery and a chronically weak ankle. This isn’t just about healing the tissue; it’s about rebuilding a smarter, more resilient joint that you can trust for years to come.
Frequently Asked Questions
1. How long does a sprained ankle take to heal?
This varies widely depending on the severity of the sprain. A mild Grade 1 sprain might feel better in 1-3 weeks. A more severe Grade 2 or 3 sprain can take 6-12 weeks or even longer for a full return to sport. The key is to progress through rehab stages based on function, not just a calendar date.
2. When can I start walking on a sprained ankle?
You can start putting partial weight on it as soon as you can do so without significant pain. Using crutches to control the amount of weight is a good strategy. As pain and swelling decrease and you begin strengthening exercises, you can gradually transition to walking without support.
3. Should I wear an ankle brace after a sprain?
A brace can be very helpful, especially when you first return to activity. It provides external support and can improve your sense of stability (proprioception). However, it shouldn’t be a permanent crutch. The long-term goal is to build enough internal strength and stability so that you don’t need one for everyday life.
4. Is it better to use heat or ice for a sprained ankle?
In the first 48-72 hours, ice is preferred to help manage pain and control swelling. After that initial phase, you can use heat (like a heating pad or warm soak) before you do your exercises. The warmth can help loosen up stiff tissues and make movement easier. Don’t use heat if the ankle is still very swollen.
5. What’s the difference between a sprain and a break?
A sprain is an injury to ligaments (which connect bone to bone), while a break is a fracture in the bone itself. Key signs that might suggest a break instead of a sprain include a visible deformity, an inability to take even a few steps, or intense pain directly over a bone (like the bony bumps on either side of your ankle). If you suspect a break, seek medical attention immediately.